
A peaceful, echo-free space doesn’t need to be a hassle. It doesn’t matter if you’re renovating an office space at your house, updating the recording studio or improving the acoustics of your restaurant; correctly installing acoustic panels could transform the atmosphere. At SoundHaven Acoustics, we help homeowners and businesses in Austin, TX transform noisy rooms into comfortable, professional-sounding spaces.
In this tutorial, you’ll discover how to mount Acoustic panels quickly and efficiently, without anxiety or confusion. From planning the layout to choosing the appropriate way to mount it, this guide will cover everything you need to be aware of.
Why Installing Acoustic Panels Matters
Before beginning how to install the panel, it’s crucial to comprehend why these panels are efficient. Acoustic panels block out the sound waves that are too loud, decrease echo and create a more balanced ambience. If a space feels loud or hollow, or “boomy,” installing acoustic panels is among the best upgrades you could make.
If you’re putting up a studio for podcasting or a classroom, a conference room, or even your living room entertainment space, the proper installation technique guarantees you the highest performance.
Step-by-Step Guide: How to Install Acoustic Panels
Installing an acoustic panel is simpler than people believe. Follow these steps to get an attractive and professional look.
Step 1: Evaluate Your Space
Start by analyzing your room’s noise behavior. Explore the room and then clap your hands. If you can hear echo or reverb sounds, these are the areas that you need to repair.
The focus should be on:
- Walls that are parallel to one another
- In corners, where bass tends to grow
- Surfaces behind TVs, speakers or recording equipment
Here at SoundHaven Acoustics, we usually suggest starting with the first reflection points, which are the areas in which sound waves bounce first.
Step 2: Choose the Right Type of Acoustic Panels
Acoustic panels do not all look exactly the same. The type of room you are in may be necessary to:
Acoustic panels made of fabric
Ideal for restaurants, offices and home theatres.
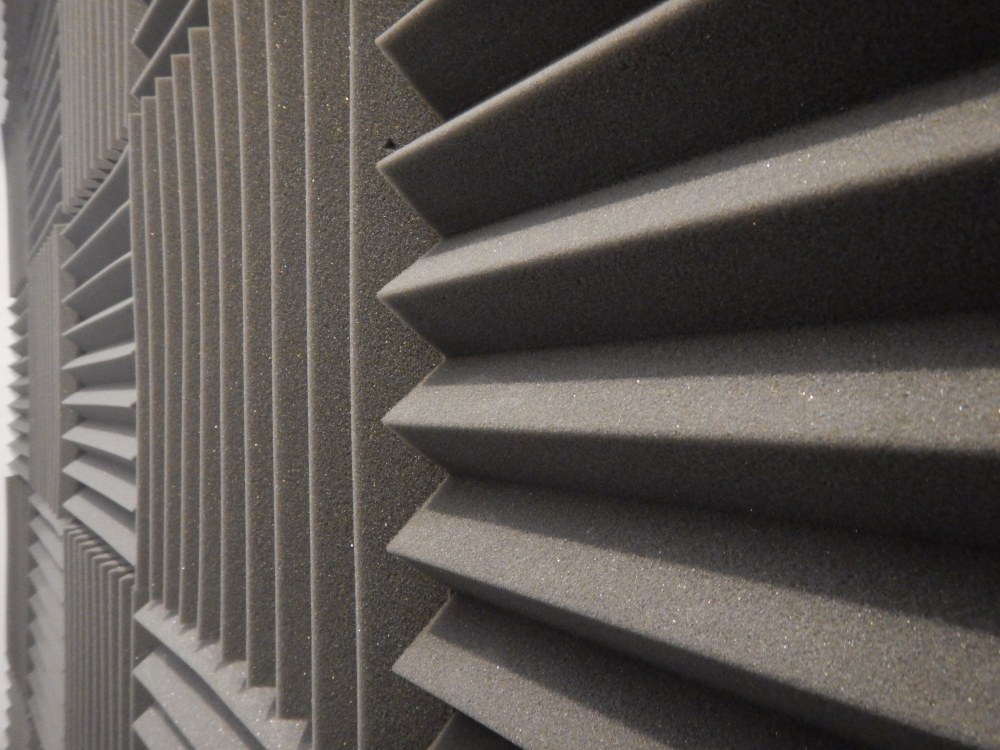
Acoustic foam panels
Ideal option for echo-control basics as well as affordable configurations.
Wooden and fabric hybrid panels
Ideal for modern interiors that need superior sound absorption.
Bass traps
In corners, it is used to prevent the buildup of low-frequency sound.
Combining the right components can enhance the clarity of sound and comfort in the room.
Step 3: Prepare Your Walls
Before you install your acoustic panels, ensure that the wall is dry and clean.
Get rid of moisture, dust, or paint that is loose for better adhesion.
You may need:
- Pencil or chalk to mark
- Measuring tape
- Level tool
- Spray adhesive or tape with double-sided sides (for the temporary installation)
- Z-clips or Mounting clips (for long-term installation)
Step 4: Measure & Mark the Placement
This is among the most crucial aspects in learning to install Acoustic panels.
Here’s how to do it:
- Take note of the size of your room. The majority of sound reflections occur within 3-6 feet of the floor.
- Use a level to mark horizontal lines to ensure a straight alignment.
- Place panels equally, generally spaced 2-4 inches between them.
- Mark reflection points by sitting in a sitting position and using a mirror. The point where you notice the reflection of the speaker is a crucial location.
This will ensure that your design is visually pleasing and symmetrical.
Step 5: Select Your Mounting Method
There are a variety of options for you that are based on the duration of your stay and the type of room:
1. Adhesive Spray / Double-Sided Tape
The best option is a panel of foam or temporary installations.
Pros: Simple, quick
Cons: Not suitable for large panels.
2. Command Strips
It is useful for renting out temporary installations.
Positives: There is no wall damage
Pros: It works only using acoustic panels made of lightweight materials.
3. Z-Clips / Z-Bars
Ideal for fabric-wrapped, heavy-duty panels. Perfect for tough, fabric-wrapped.
Pros: Safe, long-lasting professional
Pros: Needs precise measurement and drilling
4. Impaling Clips
In studios, it is commonplace to see this.
Positives: It’s secure and simple
Cons: Small holes are left behind.
In SoundHaven Acoustics, our team suggests Z-clips to ensure durability and cleaner finishes. This is especially true for commercial areas in Austin.
Step 6: Install the Acoustic Panels
The next step is the actual assembly process:
Foam Panels
Spread adhesive evenly over the back. Wait 30 seconds before gluing solidly to the wall.
Press for about 10 seconds to make sure that the lock is secure.
Fabric-Wrapped Panels
Attach Z-clips to the wall and the back of the panel.
Align, slide and lock the panel in its place.
Bass Traps
Install corner joints with corner brackets or adhesive to provide stability.
Check that every Panel is level and well placed in a symmetrical way.
Step 7: Test and Adjust
When the panels have been put in after installation, place them in different parts of the room and then test the audio.
Talk, play and play some music. If you hear echoes in certain areas, you might want to add a couple of Acoustic panels.
Remember:
Most rooms are acoustically perfect with a coverage of 20-35% of the wall.
Maintenance Tips for Long-Lasting Acoustic Panels
- The panels are cleaned every 2 to 3 weeks.
- Beware of placing your items near direct sunlight.
- Do not clean fabric panels using water. Instead, use a soft cloth
- Examine the adhesive panel regularly to determine if they have been detached.
Conclusion
Understanding how to install Acoustic panels is easy if you follow the correct steps. By ensuring proper positioning and mounting, it is possible to transform any space into a tranquil sound-free space. If you’re located in Austin, TX and need premium acoustic panels, professional assistance, or skilled installations, SoundHaven Acoustics is here to assist.
Frequently Asked Questions (FAQs)
1. How many acoustic panels will I require for a room?
The majority of rooms require 20 to 35 per cent of the wall. Rooms with echo issues may require more.
2. Do I have the ability to install Acoustic panels without drilling?
Yes. Foam panels, tiles that are lightweight, and some fabrics are installed with glue sprays, command strips, as well as double-sided tape.
3. How high should the acoustic panels be set?
The distance between 3-6 feet away from the flooring is ideal, as it’s where the most reflections of sound occur.
4. Do acoustic panels help reduce the noise coming from outside?
They are primarily used to reduce reflections from indoor reflections and echo, but not noise from outside. To block out noise the sound, you require soundproofing materials.
5. Are acoustic panels movable?
Yes. Panels that are mounted using adhesive pads or command strips are able to be removed.
Permanent mounts, such as Z-clip, could leave marks of a minor nature.